Custom Cash Register Layout
Sportsman
allows you to customize your own cash register screen using one of the
available templates. Every element on the cash register template can be changed
to customize your cash register layout. If at any time you find yourself in
need of additional support, please contact our Technical Consultants at support@peakinfo.com or 801-572-3570 x2.
Prerequisites:
Make sure you have the rights to maintain the tables within Sportsman.
This
document will go over:
ü Customizing your cash register
•
Customizing
New Cash Register
•
Layout
Tab
•
Optional
Elements
Customizing New Cash
Register
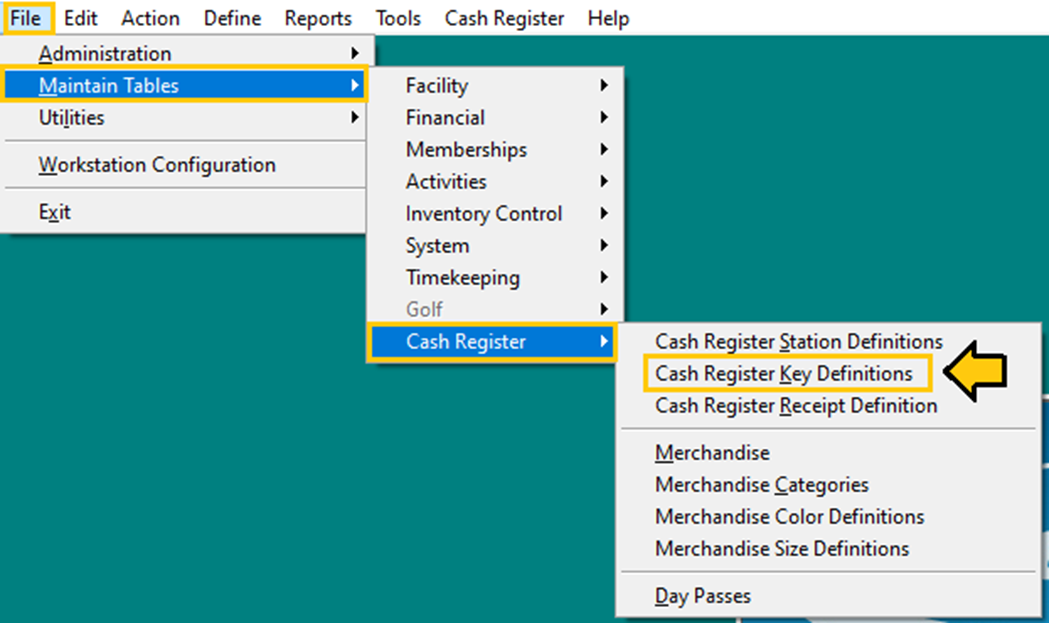
To begin
navigate to File > Maintain Tables > Cash Register > Cash
Register Key Definitions
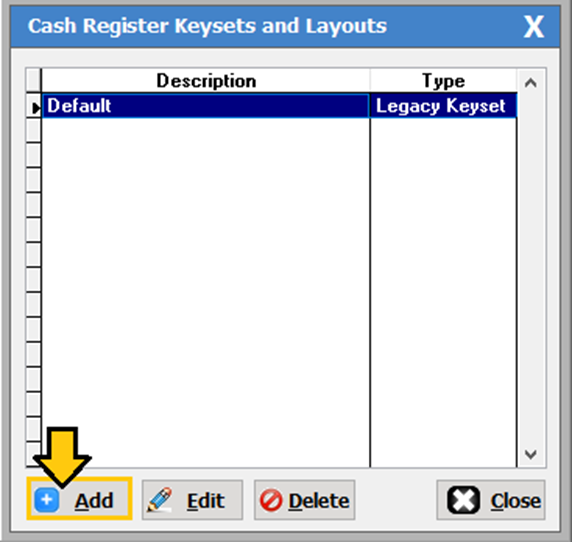
This will
pull up the ‘Cash Register Keysets and Layouts’ window. From here click
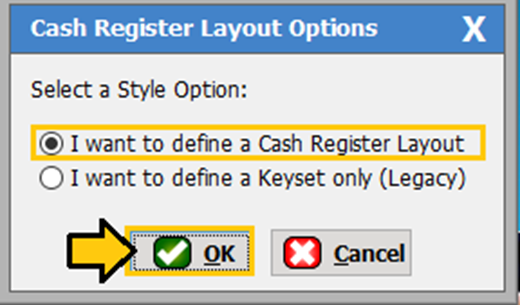
the [Add] button, to create a new register layout. Then select the ‘I
want to define a cash register layout’.
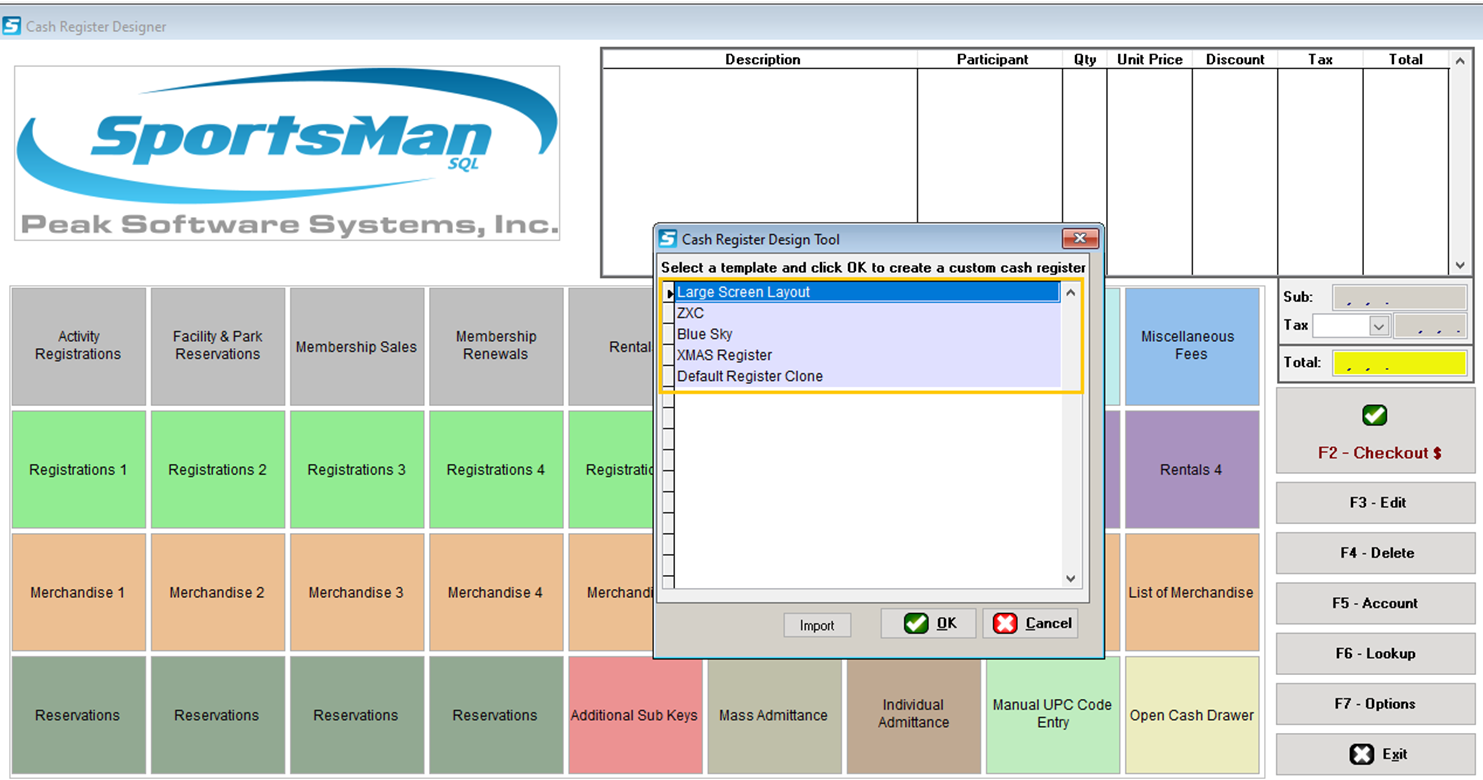
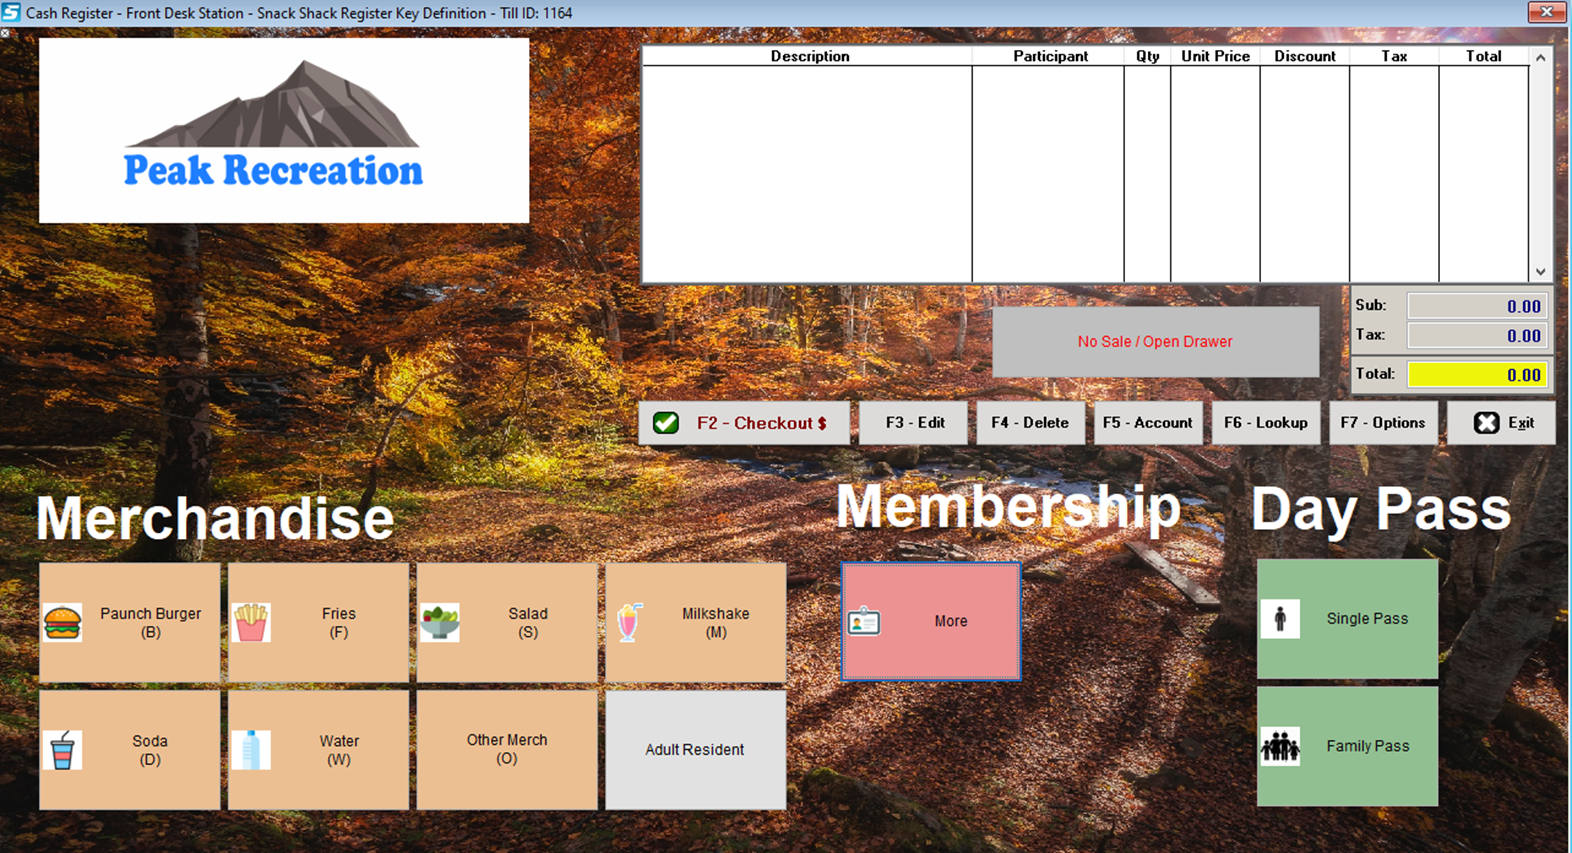
You are then
provided several preset design templates to choose from. For this example, we
will select the ‘Large Screen Layout’ – then click [OK]
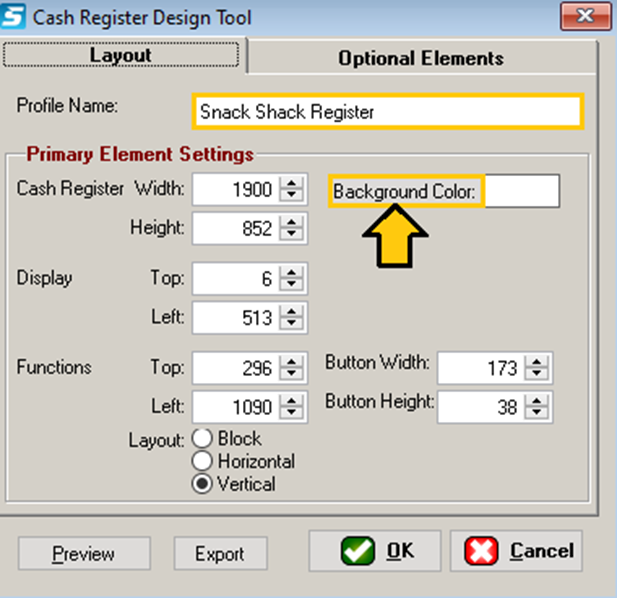
Layout Tab
On the
Layout tab screen, you can customize the following features.
v Change the Width/Height of the Cash
Register
v Customize the Display
v Customize the Width/Height, and
layout of the buttons.
v Customize the background color
To start,
give your layout a name in the ‘Profile Name’ field. Then you can adjust
the cash register’s size and display. The background color may be changed by
clicking on the [Background Color] button and selecting from the
available basic colors, or defining a custom color if you chose.

***Note***
If the register screen is too big for the workstations screen the default
keyset will be used instead. Also, keep in mind that the keysets you create in
the Sportsman app will not carry over into Sportsman web. If you are planning
on using Sportsman web you need to create the keysets within the web version of
Sportsman.
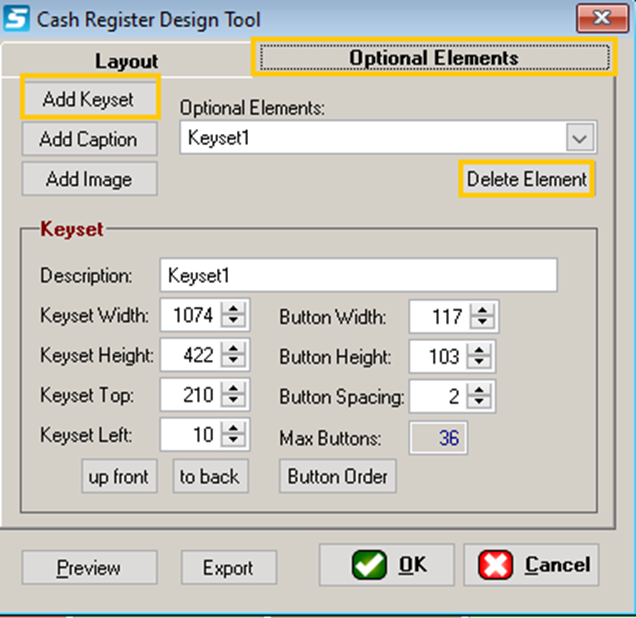
Optional Elements
You can add
or delete the following elements to your cash register.
v Add Keyset
v Add Caption
v Add image
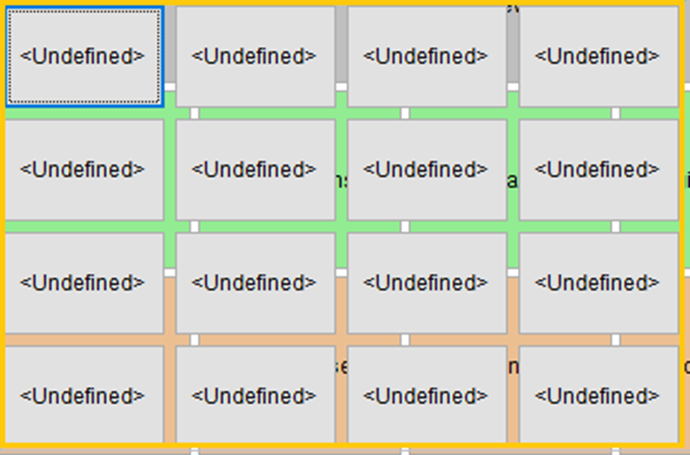
Adding
Keysets- You can add
customized Keysets by clicking on the [Add Keyset] button. To add
buttons to a keyset, click and drag the outline large enough to accommodate the
additional buttons. You can also delete or edit existing elements from the
template by double clicking them. ‘Button Order’ Allows you to easily
change the order of the buttons in the keyset.
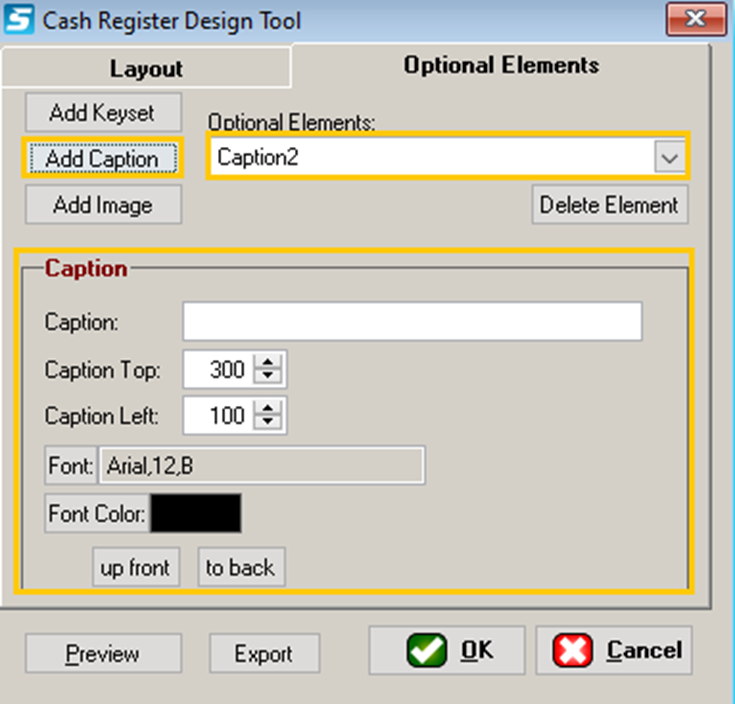
Adding
Captions- This
function allows you to customize the captions on your register template. Simply
click the [Add Caption] button to create a new caption. If you want to
change an existing caption, click on the drop-down arrow and select the caption
you would like to change and make the changes in the caption section outlined
int the screenshot below.
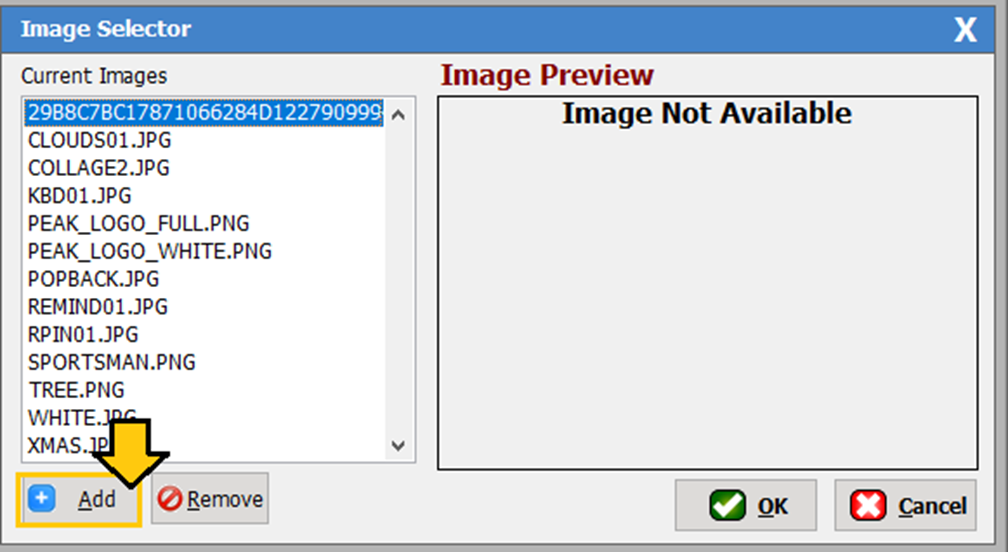
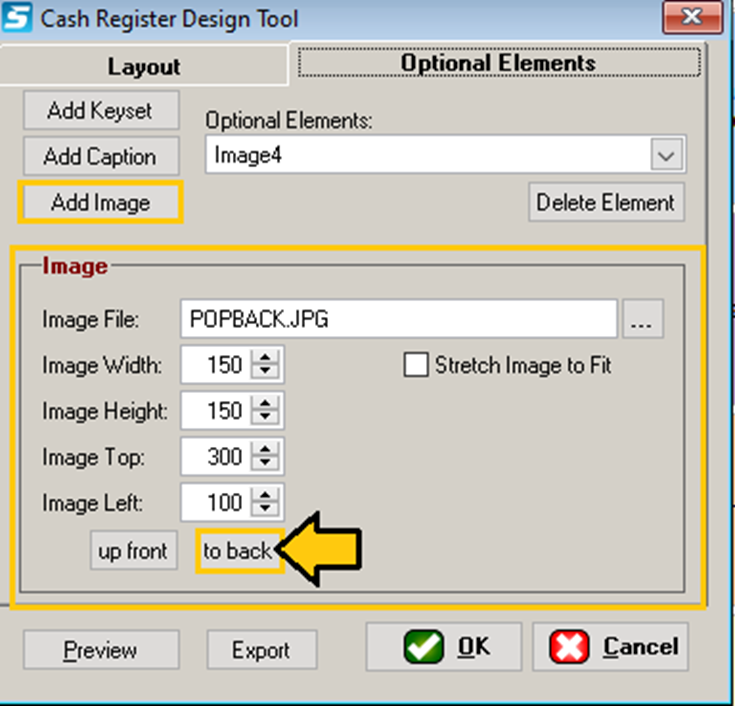
Adding
Images- This
function will allow you select and customize your backgrounds. Click on the [Add
Image] button and navigate to the image you would like to use. You will
want to delete the original back ground, and then stretch out the background
you selected by using your mouse to adjust the size. You can us the image
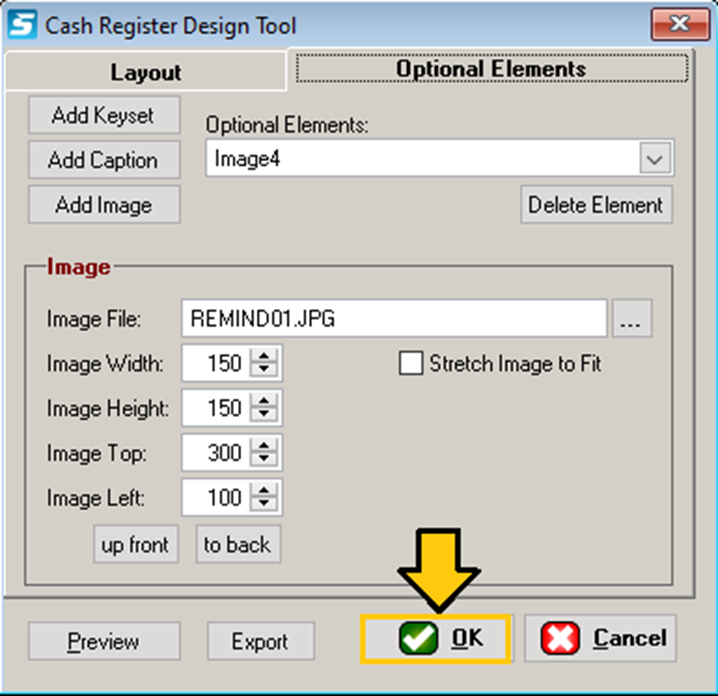
section tool as shown in the screenshot below. You will then need to click the [to
back] button once you have selected the correct size.
Then click [OK]
when finished.
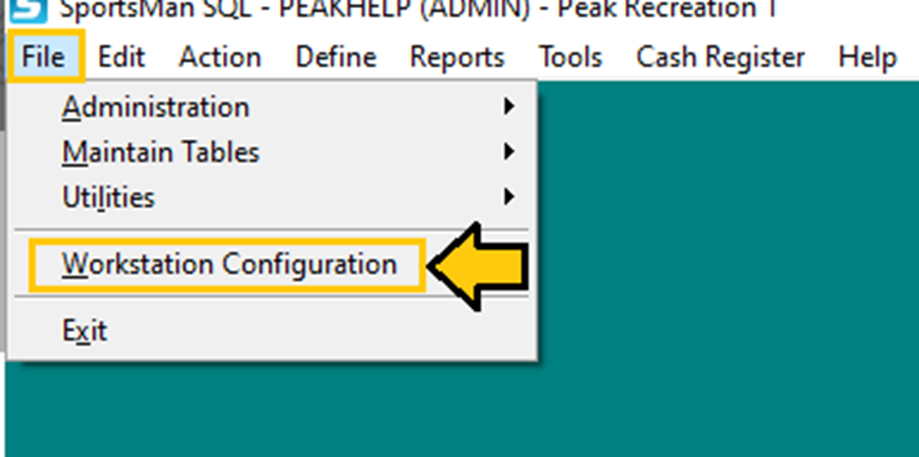
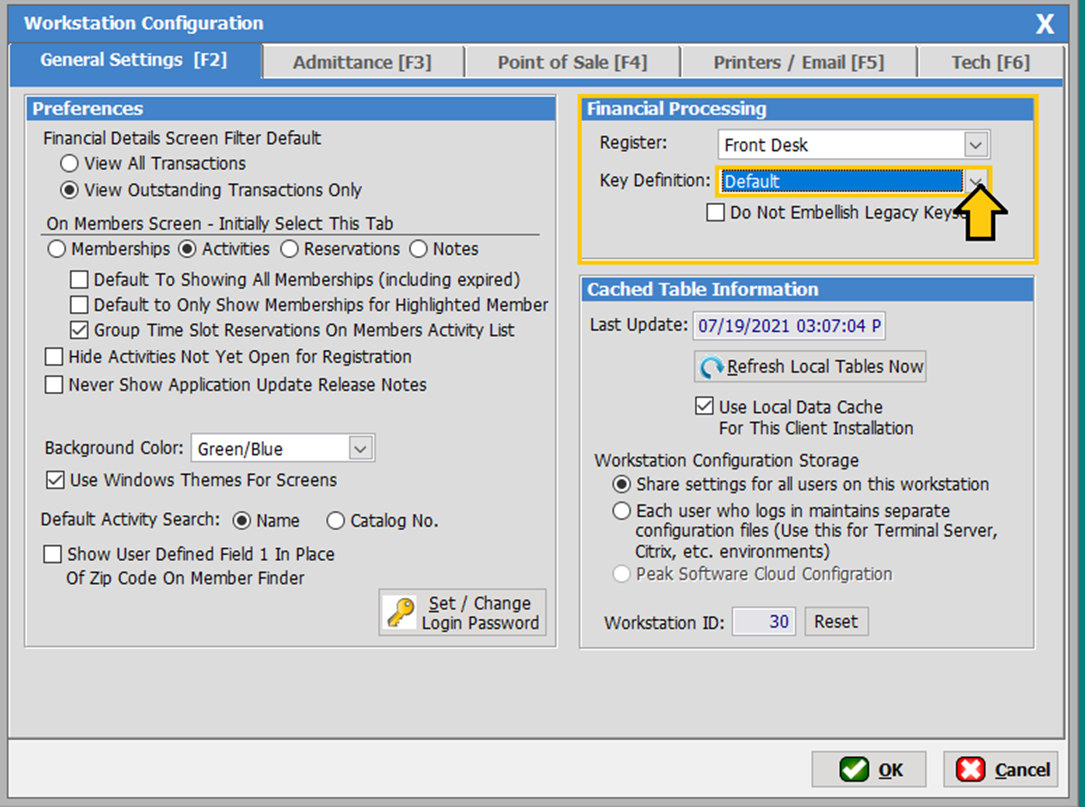
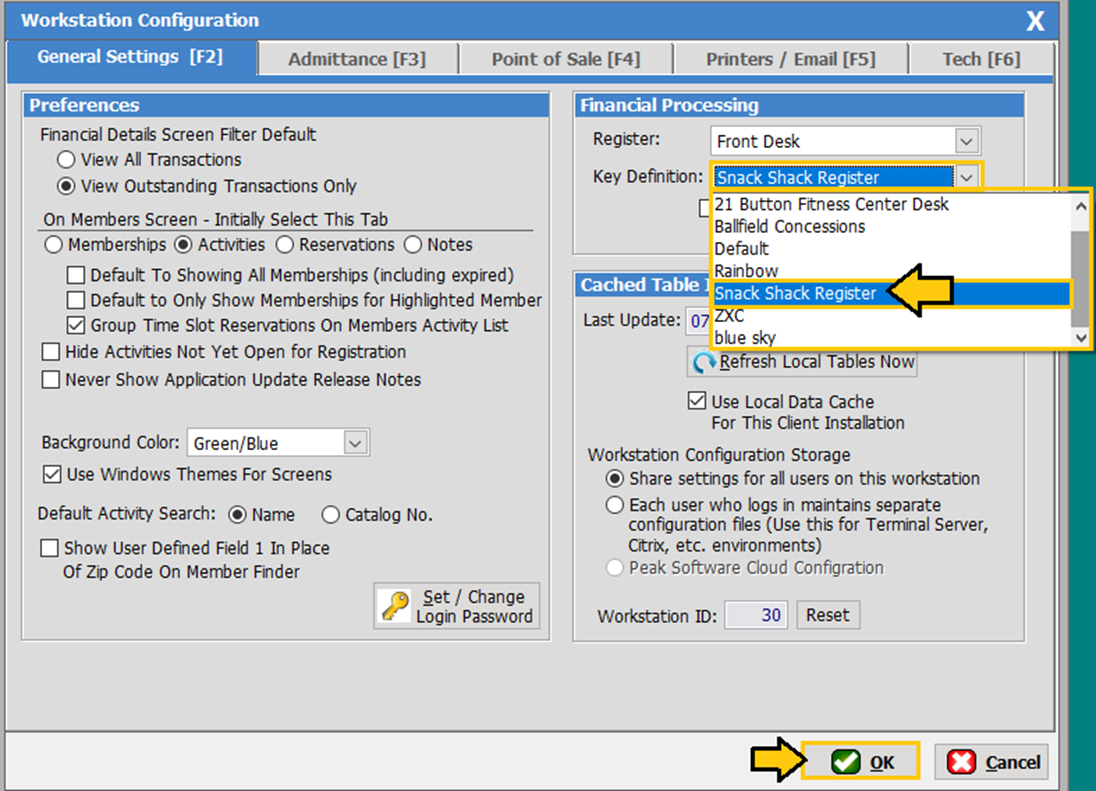
Then go to File>
Workstation Configuration. In the upper right-hand corner of the
screen, you will need to select the keyset you just created then proceed to
launch your cash register.
SM:CR/POS:B:July21