Sportsman Web – Setting Up Hardware
The following steps will help you set
up to use hardware with Sportsman Web.
The process assumes you already have your devices ready and any drivers
installed and settings configured. This process will require you to download
and install a small program on your PC or laptop to start using them with
Sportsman Web. You may need
‘Administrator’ level computer rights to do this. If you do not have those permissions on your PC,
please call your IT contact for assistance.
Controlling peripheral devices such
as bar code scanners, cash drawers, credit cards readers etc. is not straight
forward from a browser. For security
reasons, direct access to the PC is not allowed so you
will need to add a small program to use your devices with Sportsman Web.
Since use of such devices is
essential for many Sportsman users, this requires installation of a hardware
layer that runs on the computer. This
layer runs as a service and takes very little computer resources such as disk
space and memory. Sportsman Web can then
communicate with that hardware service via approved web protocols to
effectively control those devices. You
do not need to be running Sportsman Desktop application on the same PC you are
using to access Web.
Prerequisite: You must already have your devices set up on
your computer including any drivers that need to be installed.
Other Resources: Sportsman Web
Documentation and Videos
This Document will cover:
ü
Installing Hardware Service
ü
Entering Hardware Configuration
o Verify Hardware Service Connection
o Enter Available Hardware
o Select Hardware Usage
Note:
Once you have installed the Hardware Service, it will auto update whenever
there is a new version.
Installing
Hardware Service
This step only needs to be done once per
workstation so you can skip this step if you have the required service already running
on your machine with the name Sportsman Web
Hardware Service. Nor do you
need to do this every time you want to add a new piece of hardware to Sportsman
Web.
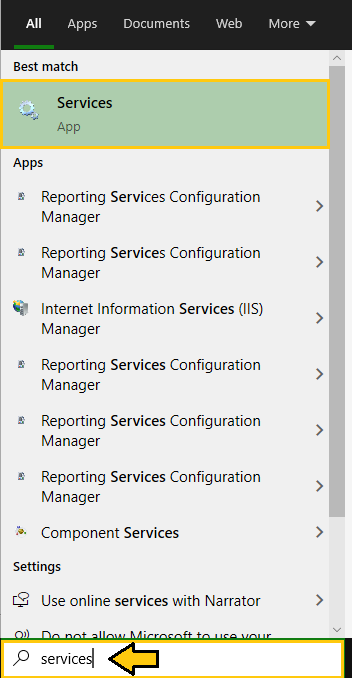
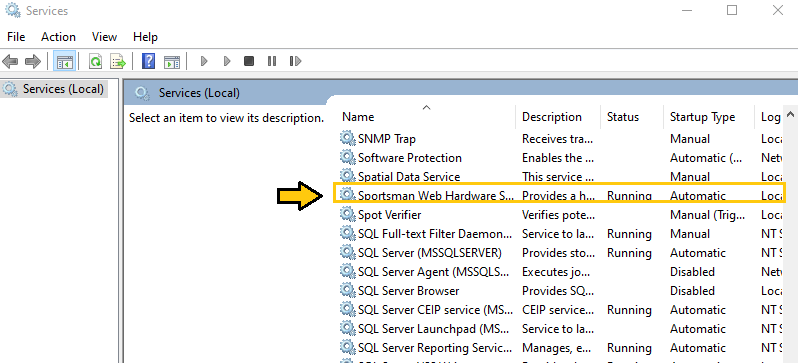
You can check to see if it is already
running on your computer by typing the word “Services” in the search box in the
lower left of your PC and opening the Services App and then searching or
scrolling down the list to look for “Sportsman Web Hardware Service”. If you don’t see it then proceed
to install following the steps below.
To install, download Sportsman Hardware
Installer. This can also be
found on our Technical Support website in the Downloads section.
Once downloaded, the program should
begin to run automatically, but it may prompt you. We recommend you “Run as Administrator” if
you have an option to do that. To do
this, right click the program from your download list and look for that option.
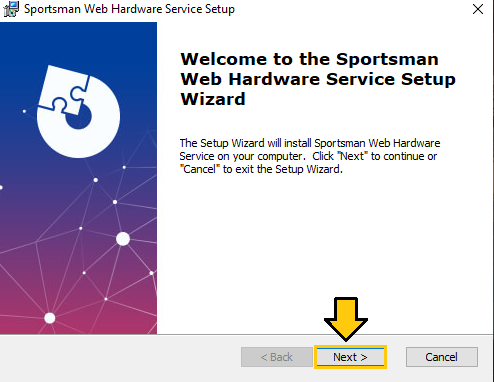
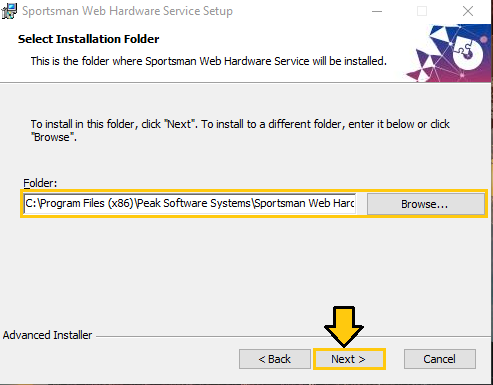
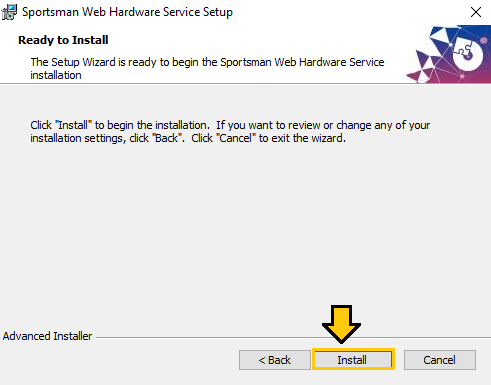
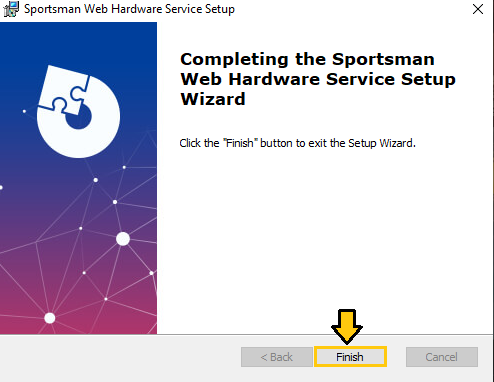
The Setup Wizard will walk you thru
the installation. You should choose
“Everyone” on the Select Installation Folder (second) screen.
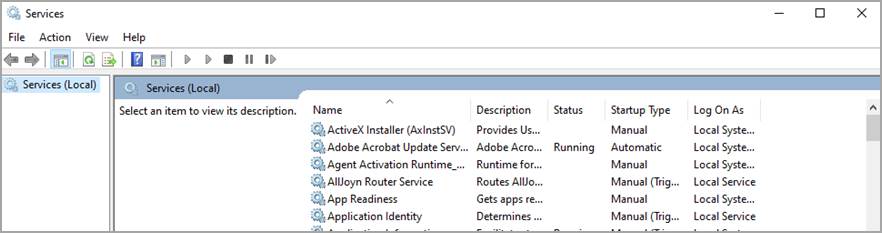
Once that is done, return to your
Services list and be sure it is loaded and the Status column says ‘Running’
Entering Hardware Configuration
The next step is to configure the
specific hardware with your Sportsman Web.
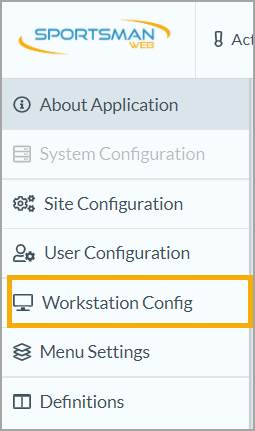
Start by logging into Sportsman Web and clicking on the Cog icon in the upper right. From the left menu choose Workstation Config.

Notice there are several tabs. Click the
‘Hardware Configuration’ tab. When you open this tab, it will try to
connect to the Sportsman Web Hardware Service.
If it is unable to connect, you will see a pop-up message. What follows below will walk you through how
to verify connection and connect your devices.
Verify
Hardware Service Connection
When you run the configuration
application you will see the Hardware Service Connection Settings (lower)
panel. Your settings should mirror
what’s below. Notice that we have also
added the steps you need to take to add hardware in the top section.
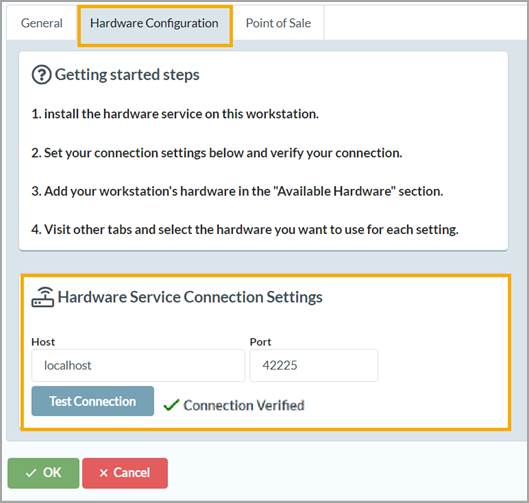
To the right side of the [Test Connection] button you should see
“Connection Verified” with a green check mark.
If this is the case, the Sportsman Web Hardware Service is connected. If you are verified you can move to the next
step.
If you see a red X with “Connection
Unverified” you will need to do some troubleshooting to see why the Service is
not connecting to Sportsman Web. First, try clicking the [Test Connection] button to see if that appears
in the Services list on your computer. You can see the list by clicking on the Start
menu and searching for services by typing in “Services” in the box. Look
through the list until you find Sportsman Web Hardware Service, right click and
choose “Start”. You may need
administrator privileges to do this. If
you do not see Sportsman Web Hardware Service in the list you will need to re-install
it.
Enter
Available Hardware
Note:
You must have the hardware service installed and have verified a connection
(from the steps above) before you will be able to do this.
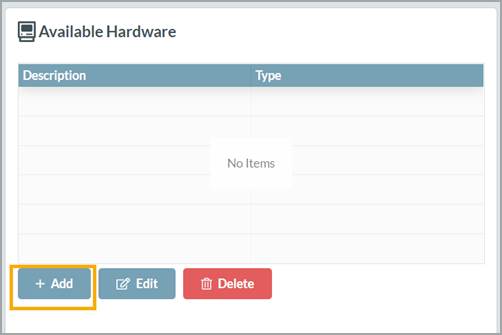
With the hardware service running, you can add hardware to the system. If you are not on it already, navigate to the
“Hardware Configuration” tab and see the Available Hardware pane.
Click the [Add] button at the bottom.
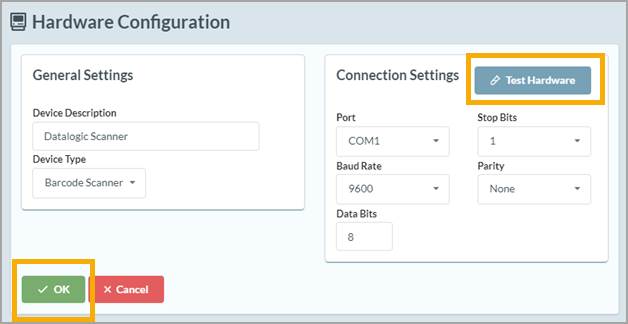
The hardware configuration screen
will then appear. Follow the steps below.
Note: Specific connection
settings will be the same as required for the desktop version. You can find those in the Sportsman installation
documentation for the hardware you are using.
1.
Put in a name to identify the hardware. It can be whatever makes sense to you.
2.
Next select the Device Type you are
adding from the drop-down menu.
3.
Enter the Connection Settings for the
device.
4.
Click the [Test Hardware] button to make sure your connection settings
are correct.
5.
Click [OK] on that screen as well as the Workstation Config screen to save the new hardware definition to the
server.
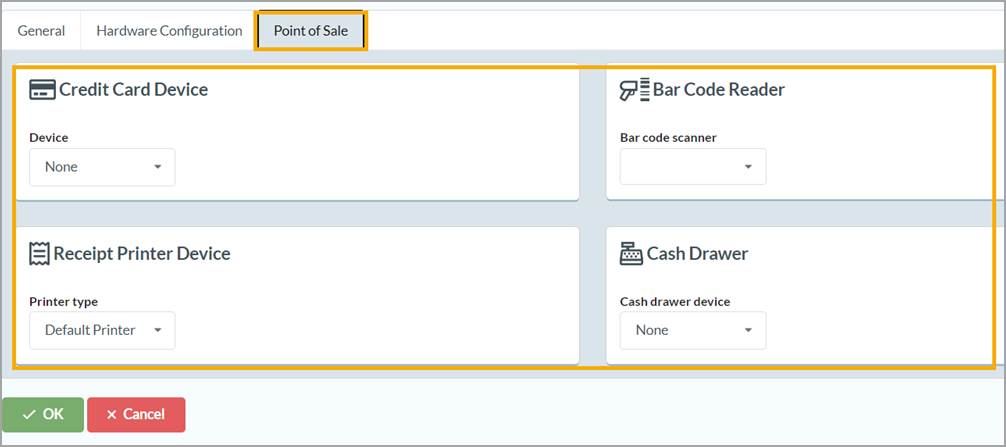
Select
Hardware Usage
Once your desired hardware has been
added, click on the other tabs such as ‘Point
of Sale’ and select the devices you would like to use for the
various applications. Remember you must
click [OK] to save the
configuration when you are done.
SM:WEB:I:MAY21